Basic Instructions
1) TURN ON THE MEDIA SYSTEM
- Press the POWER button, then ON
- Status bar will progress while system warms up
- Lower the projection screen (may be manual or electric)

2) SELECT A SOURCE
- Press a source button (LAPTOP/DVD/VCR, etc.)
- Connect laptop or insert necessary media (DVD/VHS, etc.)
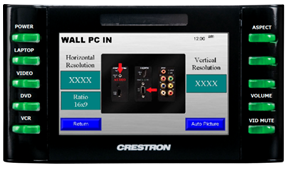
- If using a laptop, be sure to choose (Wall, Rack or Backup) VGA or (Wall or Rack) HDMI depending on how you connected
- NOTE: VGA cables can be found in the rack drawer located in the cabinet or black box

3) ADJUST VOLUME
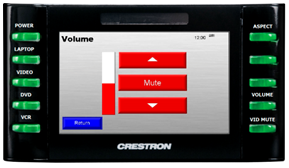
- Press VOLUME button, then use ARROWS up/down
- Be sure that MUTE is not highlighted
- NOTE: This controls volume from ALL sources. Remember to check volume on your laptop

4) TURN OFF THE SYSTEM AFTER USE:
- Press the POWER button, then OFF
- Status bar will progress while system cools down
- Return the projection screen to the raised position
- NOTE: During this two minute cool down process, system restart cannot occur
5) QUESTIONS OR EQUIPMENT PROBLEMS?
- For immediate assistance, please call CTS at (617) 353-3227
- Send an email to classrooms@bu.edu to report equipment issues
- To request service, please complete our request form.


