Citrix: How To
We recommend using the Citrix Workspace desktop client to access engineering software remotely. But note, our Citrix applications are mostly meant for administrtive work and homework. It is not a good choice for research simulations as our deployments: don’t have the resourses for large, long running simulations; they are rebooted nightly; and some applications (e.g. COMSOL Classkit) are only licensed educational use. There are a few exceptions OriginLab and SolidWorks.
- Use your engineering X: Drive to save all work
- this is accessed directly from your Citrix applications.
- Mount your X: Drive on your local system for file access outside Citrix
- you’ll need the BU VPN from off campus
Citrix Workspace Desktop Client
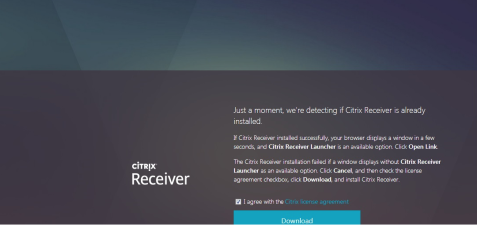
- Download and Install the Citrix Workspace client that is compatible with you Operating System (Linux, Mac, or Windows)
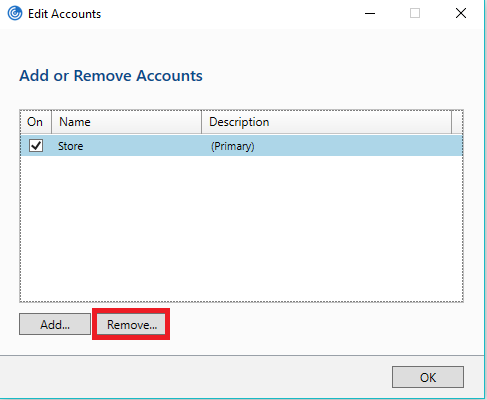
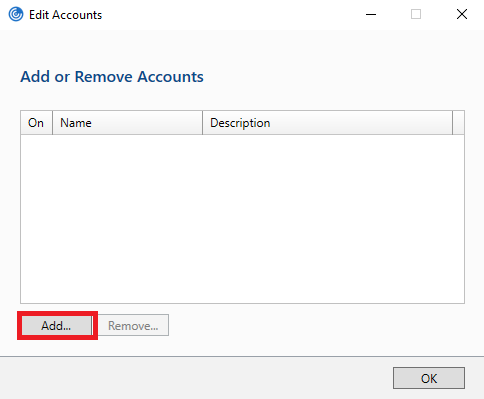
- When Prompted to ‘Add Account’, add https://engbucitrix.cloud.com/
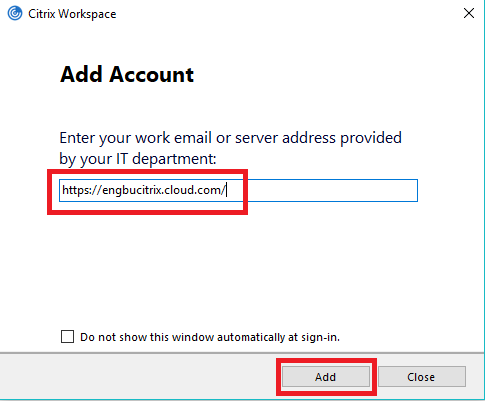
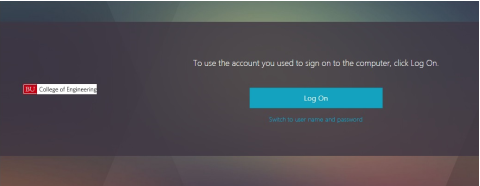
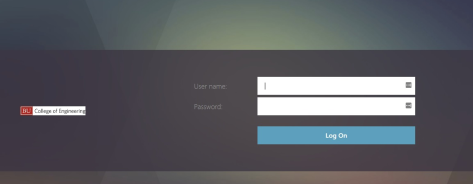
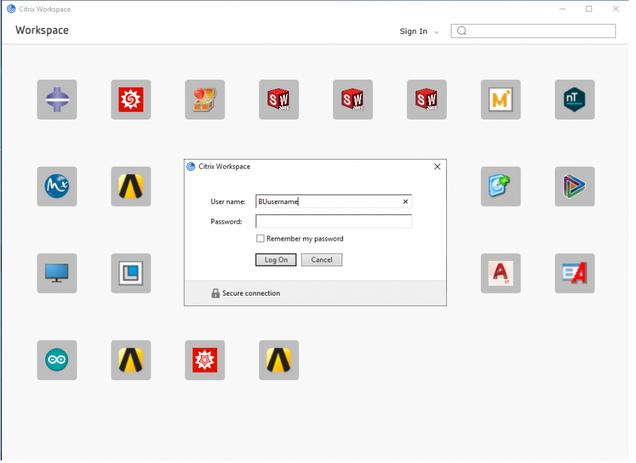
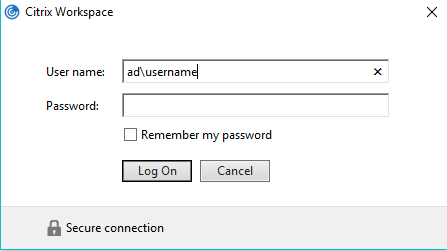
- Enter your BU credentials as: ad\username and your Kerberos password
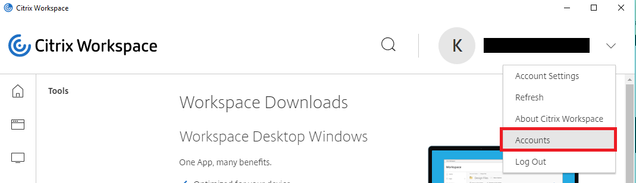
- Go to Apps then All Apps to view all available engineering software.