If you are off campus, use the VPN
If you are in an off-campus location, you will first need to connect to the VPN – login at http://vpn.bu.edu. Once you are connected to the VPN, you should follow the instructions below to begin printing. If you are printing from an on-campus location, or if you are already connected to the VPN, you are ready for the next step.

macOS |

Windows |

Linux |
*Print jobs will be held for 12 hours, after that they will be deleted.
macOS
Installing BU Departmental Printers
- Download the installer package by clicking here.
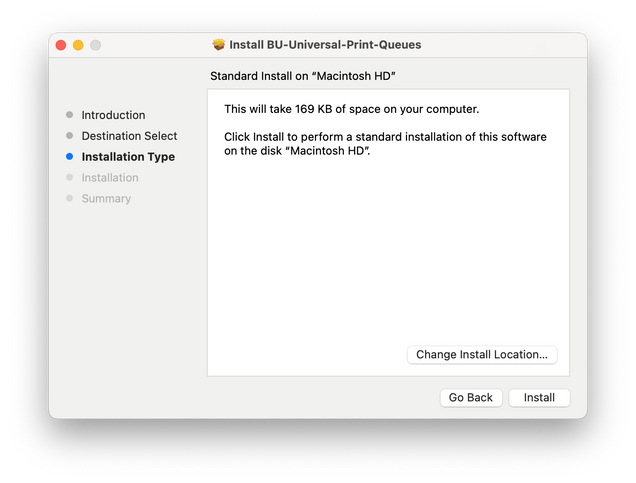
- Open the BU-Universal-Print-Queues.pkg file you downloaded.
- Proceed through the Installer prompts, installing the package to your local system drive (e.g. “Macintosh HD”).
- You should now see the printers installed in System Preferences >> Printers and Scanners.
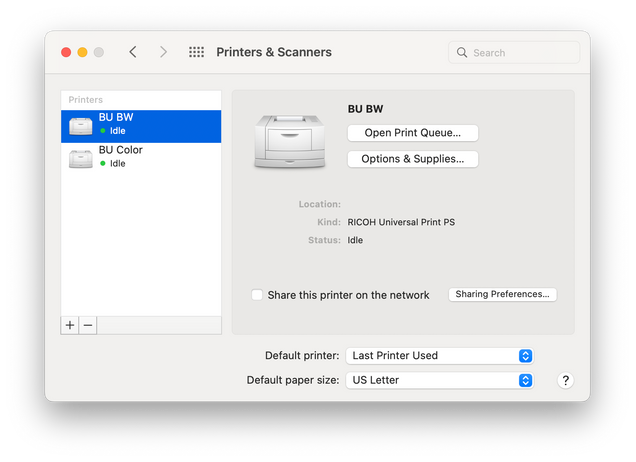
The printers are configured to accept your current AD login session credentials, if applicable. If you are asked to authenticate when you print, please enter your BU login name and password.
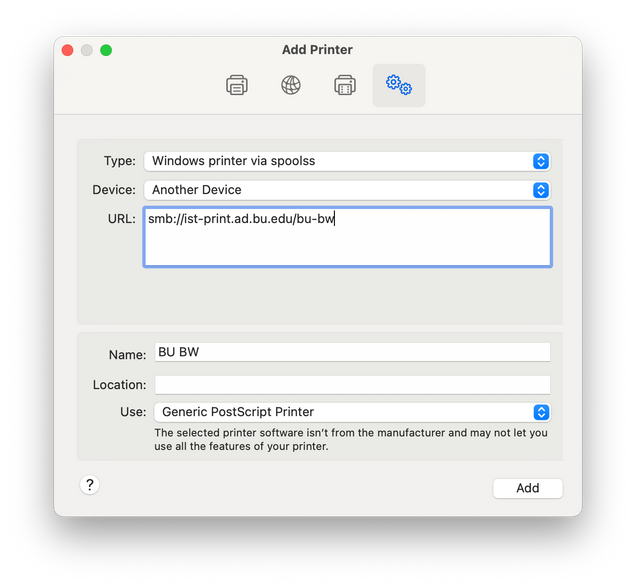
Manually Installing Printers

Windows
- Download the driver installation package by clicking here.
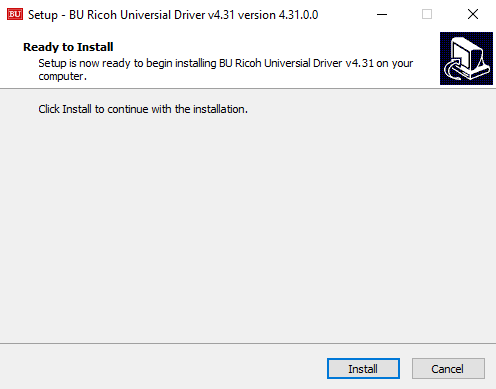
- Open the BU-Ricoh-Universial-Driver-v4.31.exe file you downloaded.
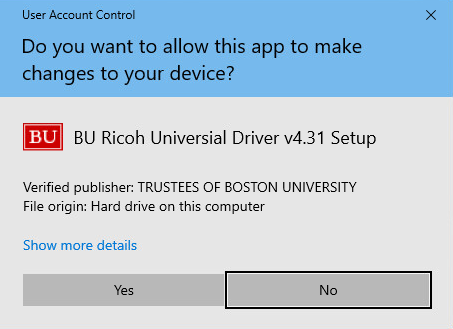
- Click “Yes” to allow the driver to install.
- Click “Install”.
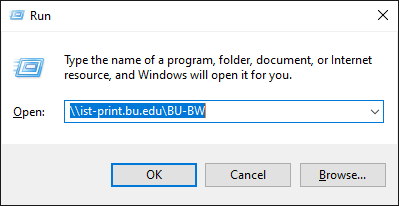
- Open the Start Menu and select Run. If you do not see the Run Program (e.g. Windows 7 users) go to Search Programs and Files and type Run. You will then be able to see it and press Enter to launch it.
- In the search bar, type “\\ist-print.bu.edu\BU-BW” and click OK.
- If you are asked to authenticate, enter the following information:
- Type your BU login name in AD\login format. For example, if your BU email is rhett@bu.edu, enter AD\rhett.
- Type your Kerberos password.
- Check the Save Password box.
- Click OK.
- The driver will automatically download and install on your system. If prompted, indicate that you Trust the source and Install the printer.
- Repeat process for “\\ist-print.bu.edu\BU-Color”
Linux
This should work for any Linux box with CUPS – the Common Unix Printing Service, but these instructions cater to the GNOME Desktop. If you are using KDEPrint, see below for a slight modification of these instructions.
- To set up a printer, click System -> Administration -> Printing.
- Choose New -> Printer.
- Select Windows Printer via SAMBA.
- At the smb:// prompt enter ist-print.bu.edu/bu-printingtype substituting the type of printing (bu-bw or bu-color) that you wish to use (for example smb://ist-print.ad.bu.edu/bu-bw).
- Choose Prompt User if Authentication is Required.
- Enter your BU login name and Kerberos password. Be sure to type your BU login name in AD\login format. For example, if your BU email is rhett@bu.edu, enter AD\rhett.
- Click Forward.
- Choose Postscript Printer and Generic Postscript Printer [en] and click Forward.
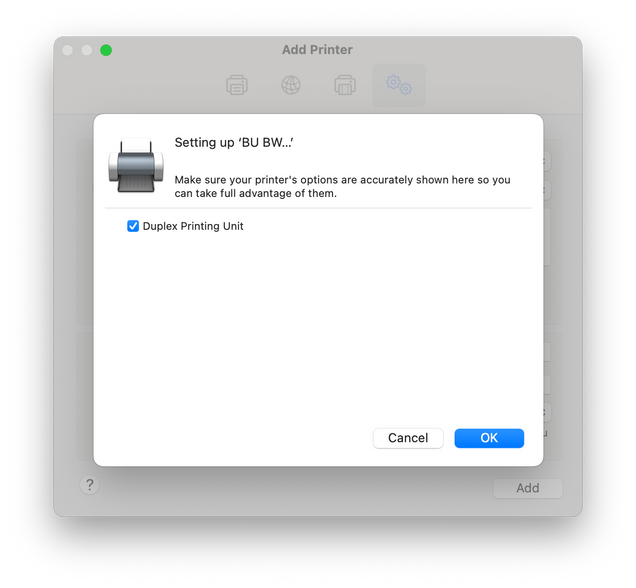
- Enter the name of the printer and, optionally, your own name for the printer. Then click Apply.
The Printer now should be available in the printer list and ready for use.
NOTE: If you are using KDEPrint (as opposed to GNOME) the instructions are essentially the same except:
server: “ist-print.bu.edu”
printer: “bu-BW” (or applicable printing type)
Note that the protocol is not listed in the address
If you have any trouble, try removing smb://