If you are off campus, use the VPN
If you are in an off-campus location, you will first need to connect to the VPN. Login at http://vpn.bu.edu. Once you are connected to the VPN, follow the instructions below to begin printing. If you are printing from an on-campus location, or if you are already connected to the VPN, you are ready to proceed.

macOS |
Windows |
iOS/iPadOS |
|

Web Browsers |
Linux |

macOS
Installing MyPrint Printers via AirPrint
- Open the document that you wish to print, then open the File menu and select “Print…”
- Click the “Printer:” dropdown and locate the “Nearby Printers” section. Select either “myprintbw” or “myprintcolor” depending on if you need to print in color or not.

- Review your document printing preferences, then click “Print.”
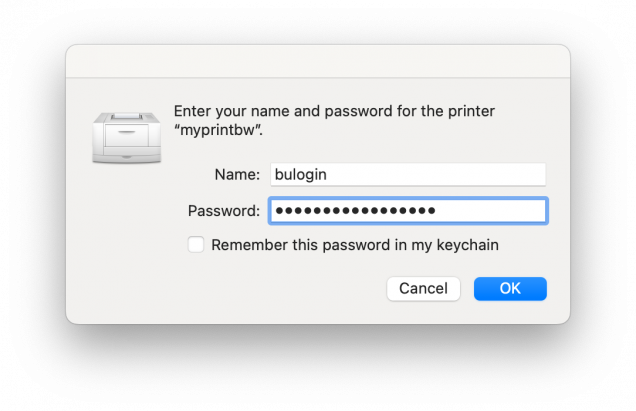
- When prompted, enter your BU username and password, then click “OK.”
Your job is now queued for printing. However, it will not be printed (nor will your quota be charged) until you release your print job.
Troubleshooting
Windows
- Download the Mobility Print installer
- Open the downloaded installer, named “pc-mobility-print-printer-setup-x.x.xxx.exe
- Select your language and accept the license agreement
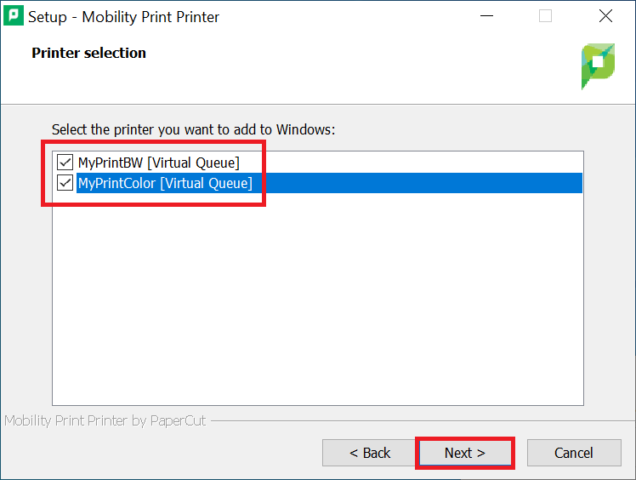
- Select the “MyPrintBW” and “MyPrintColor” queues. If you do not see the queues appear, ensure you on the BU network, not the Guest network (e.g., BU (802.1x), eduroam)
- Enter your BU username and Kerberos password

- Click the Start button and search “Printers & Scanners,” then select the “MyPrintBW [Virtual Queue] Mobility” and select “Manage”

- Click “Printing preferences,” then select the “Print on Both Sides” option and select “Flip on Long Edge” to ensure your print jobs default to double sided to save paper.
- Repeat this step for the “MyPrintColor [Virtual Queue] Mobility” print queue.

iOS/iPad OS
The issue that prevented MyPrint from appearing as an available AirPrint printer on iPhones and iPads has been fixed with iOS/iPadOS 17.2. We recommend updating if you are unable to print from your device. Alternatively, you can download and install a configuration profile to manually add the MyPrint printers to your device. For step-by-step instructions, please expand the section below.
Workaround for Adding MyPrint on iOS/iPadOS 17
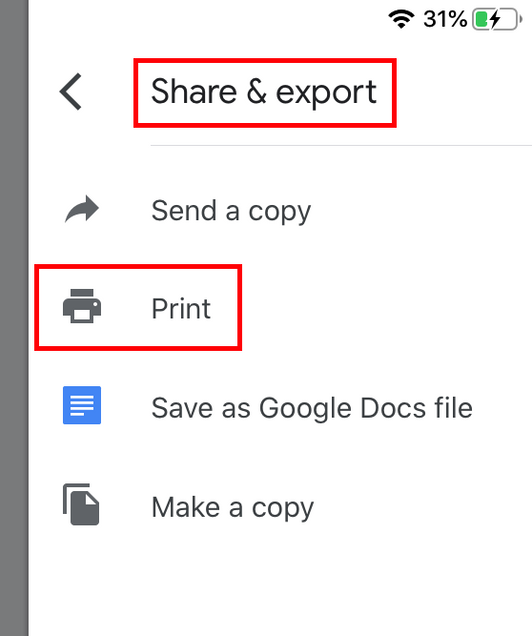
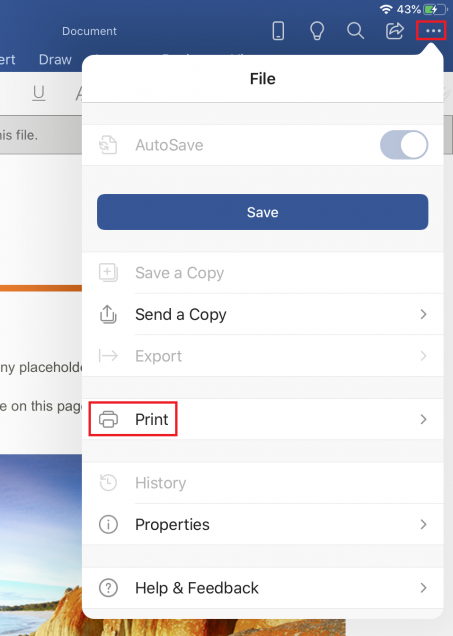
- Open the application and file you wish to print. Select the “Print” option, which is usually found in Share, Export, or … menus, depending on the application.

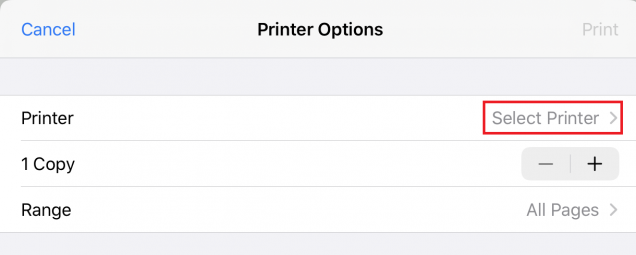
- Tap “Select Printer”
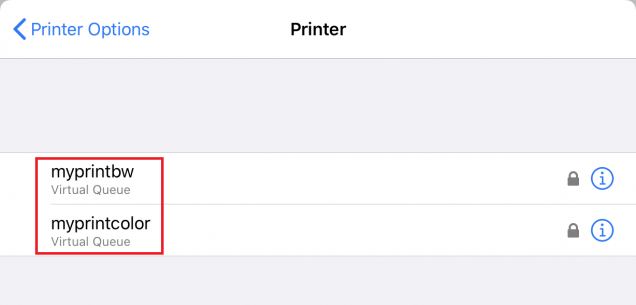
- Select either “myprintbw” or “myprintcolor” depending on the job you want to send. If you do not see the printers, ensure you are connected to the eduroam Wi-Fi network.
- Enter your BU Username in the “user name” box, then your BU Kerberos Password. Then click “OK”. This should be remembered for next use.

- Select the print options as desired. Once you have confirmed your print settings tap “Print”.

Your job is now queued for printing. However, it will not be printed (nor will your quota be charged) until you release your print job.
Android
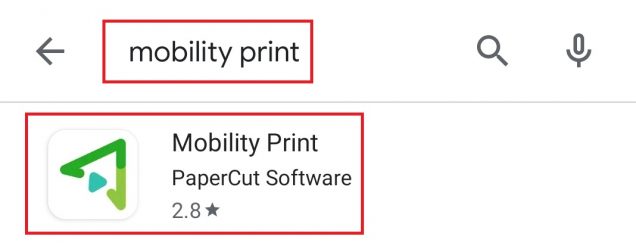
- Open the “Google Play Store” and install “Mobility Print” from “PaperCut Software” also see link below. Click “Open”https://play.google.com/store/apps/details?id=com.papercut.projectbanksia&hl=en


- Click “Tap here and check the Mobility Print Service is on” then confirm it is on, if not flip the button to the right


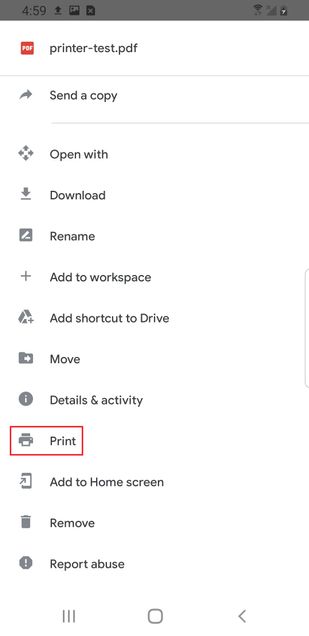
- Open the application and document you want to print it is usually found in the 3 dot menu then under print below are 2 examples


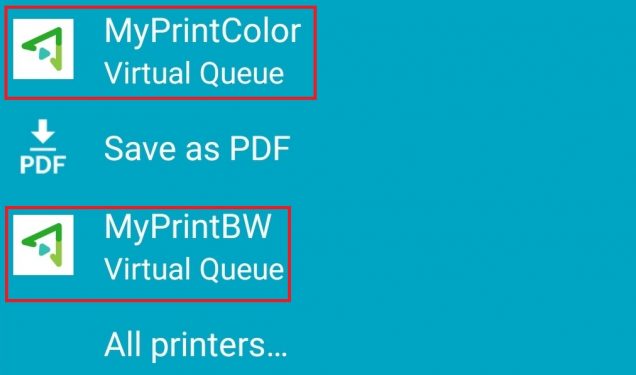
- Click on the “Select a printer” pull down then select the given MyPrint printer you wish to print to

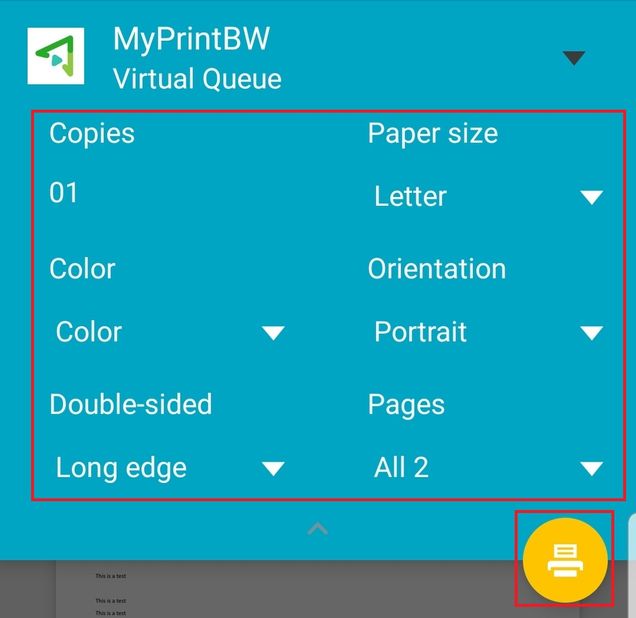
- Click on the down arrow to confirm your print settings then click on the printer icon at the bottom. Note printing Color to the “MyPrintBW” print queue will not result in color printing.
- On first use you will be prompted that Mobility Print will send your print job to a BU server for processing, click “OK”

- On first use you will also get a notification that your print job needs authentication click on the notification

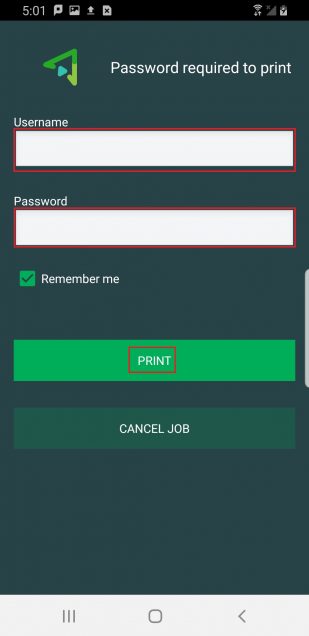
- This will open the “Mobility Print” application enter your BU Username and Kerberos Password then click “Print”. Note with the “Remember Me” box checked this will remember your username and password for the next print job.
- You will get a notice that your print job has been submitted now the final step is to release your print job at MyPrint device.

Linux
Wherever possible, we recommend using the MyPrint Web Upload system to print documents from Linux.