Closed captioning for media is available directly in the MyMedia interface, and will sometimes be seen as Kaltura REACH. Captioning media such as recorded videos can be a critical step in providing better accessibility to students and others who view the content you create. There are three ways of sourcing captions for your media: machine-generated, professional fidelity, and manually created/uploaded.
Machine-generated captions are automated, and use speech-to-text technology to create captions based on the audio (speech) of a certain media. This is performed without human intervention, so it is a fast method of providing additional accessibility to your videos.
- Machine-generated captions are intended to be used as a base for creating captions to facilitate search, interactive transcripts, and other features
- They are 60-80% accurate based on several factors (i.e, diction, audio equipment and room noise)
- Closed captions that are machine-generated must be reviewed, so that any errors can be edited (steps for this outlined below)
- Machine-generated captioning for existing content is available at no charge
Professional fidelity captions are typed out by a person, which provides more accuracy, and are available for a fee. If you do not have an existing relationship with the captioning service, contact us via email regarding payment options and to set up options to use the service.
Manually created/uploaded captions are either typed out by the media-uploader in the MyMedia interface or are uploaded (such as with a transcript file) by the person that uploaded the original media to be captioned. These do not need to be ordered.
Captions need to be removed before trimming video. All necessary trimming must be complete before ordering professional captions. Details on Trimming a Video can be found at Using MyMedia FAQ page under Using My Media > Edit Video Options.
For full details, visit What is the Kaltura REACH captioning service?
Entering the Captioning Interface
- Log into MyMedia or Blackboard using your Kerberos credentials.
- From the MyMedia website: select your name at the top right and click My Media.
- Select the media you wish to request captioning (click on the title of the media you have uploaded).
- If you have not uploaded any media yet, click the Add New button and add your media.
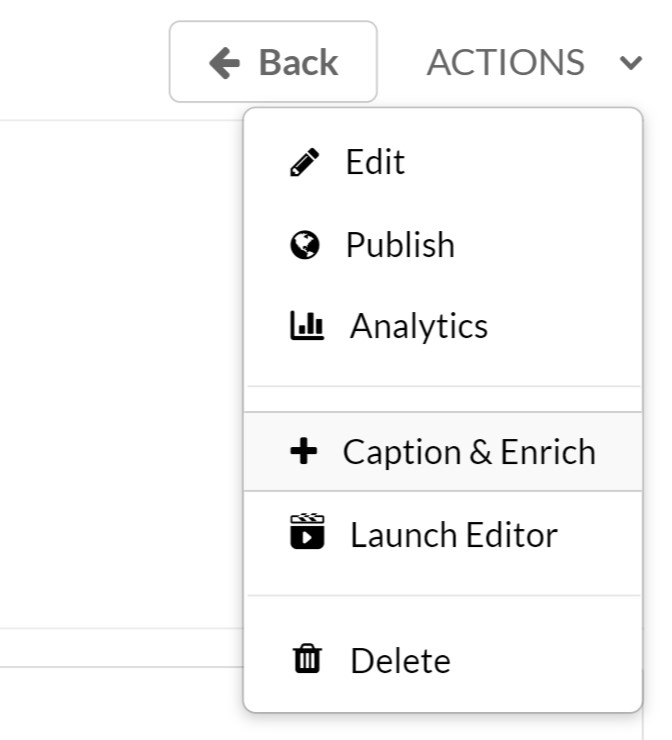
- Once on the media page, select the Actions drop-down menu below the video.
- Select Caption & Enrich, which will open the Captioning Interface for ordering and reviewing captions.
Ordering Machine-Generated Captions
- Log into MyMedia (through the MyMedia website or Blackboard), click on the media you wish to caption, and navigate to the Captioning Interface (Actions drop-down and Caption & Enrich).
- If you haven’t uploaded any media yet, you will need to do this before trying to add captions.
- Alternatively, once in MyMedia, selecting the check box to the left of any media item in the list and selecting the Actions drop-down then Caption & Enrich will open the Captioning Interface.

- You will be prompted to select the caption order that you’d like to make. In the Service dropdown, select Machine.
- Select Submit to submit the order.
After submitting the order, you can view the status of the request:
- From the Caption & Enrich page (Captioning Interface), the status of all caption requests for that media can be viewed in the Existing Requests section.
- The resulting table will display one row for each of the recording’s caption requests.
Once captions have been created, they should be reviewed and edited (review the section on editing captions below).
Ordering Professional (Human) Captions within MyMedia
Professional fidelity captions provides more accuracy, and are available for a fee. This can be done right within the MyMedia interface, which is currently being rolled out. This system differs from the previous system only slightly in the steps that are taken to order the captions, and in the backend of how the captions are generated. The previous vendor used for professional captions, cielo24, is now one of multiple vendors fulfilling professional caption orders.
- Log into MyMedia (through the MyMedia website or Blackboard), click on the media you wish to caption, and navigate to the Captioning Interface (Actions drop-down and Caption & Enrich).
- If you haven’t uploaded any media yet, you will need to do this before trying to add captions.
- Alternatively, once in MyMedia, selecting the check box to the left of any media item in the list and selecting the Actions drop-down then Caption & Enrich will open the Captioning Interface.
- You will be prompted to select the caption order that you’d like to make. In the Service dropdown, select Professional.

- Add any notes that may be helpful to the professionals creating the captions for your media. Then hit Submit to submit the order.
After submitting the order, you can view the status of the request:
- From the Caption & Enrich page (Captioning Interface), the status of all caption requests for that media can be viewed in the Existing Requests section.
- The resulting table will display one row for each of the recording’s caption requests.
Note: Professional Captions require an Approver to review and approve their fidelity/accuracy before being used.
Ordering Professional (Human) Captions with cielo24
Professional fidelity captions provides more accuracy, and are available for a fee. If you do not have an existing relationship with the captioning service, contact us to set up an account with the vendor, cielo24. Once you have an account, proceed with these steps:
- Within MyMedia, select your name at the top of the page and choose My Media
- Select the media you wish to order captions for.
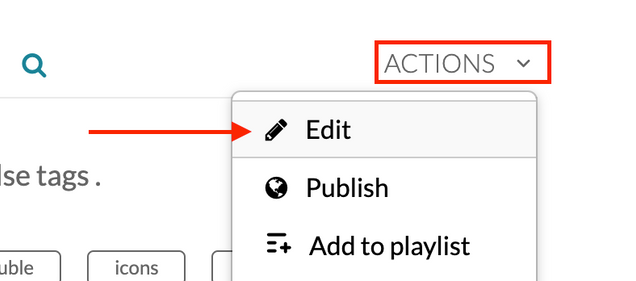
- Beneath the video, select the Actions menu and click Edit from the dropdown menu.
- On the Details tab, type the Tag that was provided to you by cielo24 and choose it from the dropdown that appears
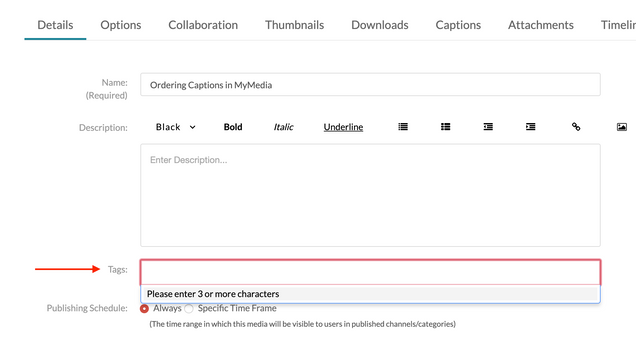
- Save the Details to see the tag was applied.
The media will now be sent to the captioning provider for service. Once complete, the captions will automatically be applied to your video. The following video shows the process of adding tags to your media:
Downloading Transcripts
- Log into MyMedia (through the MyMedia website or Blackboard),
- From the MyMedia website: select your name at the top right and click My Media.
- Select the media for which you would like to download a transcript.
- Scroll down to below the media and click the Actions dropdown and select Edit.
- Select the Attachments button below the media.
- Download and open the transcript file you wish to view.
- For most media, this will be transcript_XX.txt, where XX is an abbreviation for the transcript language.
Downloading Caption Files
- Log into MyMedia (through the MyMedia website or Blackboard),
- From the MyMedia website: select your name at the top right and click My Media.
- Select the media for which you would like to download a transcript.
- Scroll down to below the media and click the Actions dropdown and select Edit.
- Select the Captions just below the media.
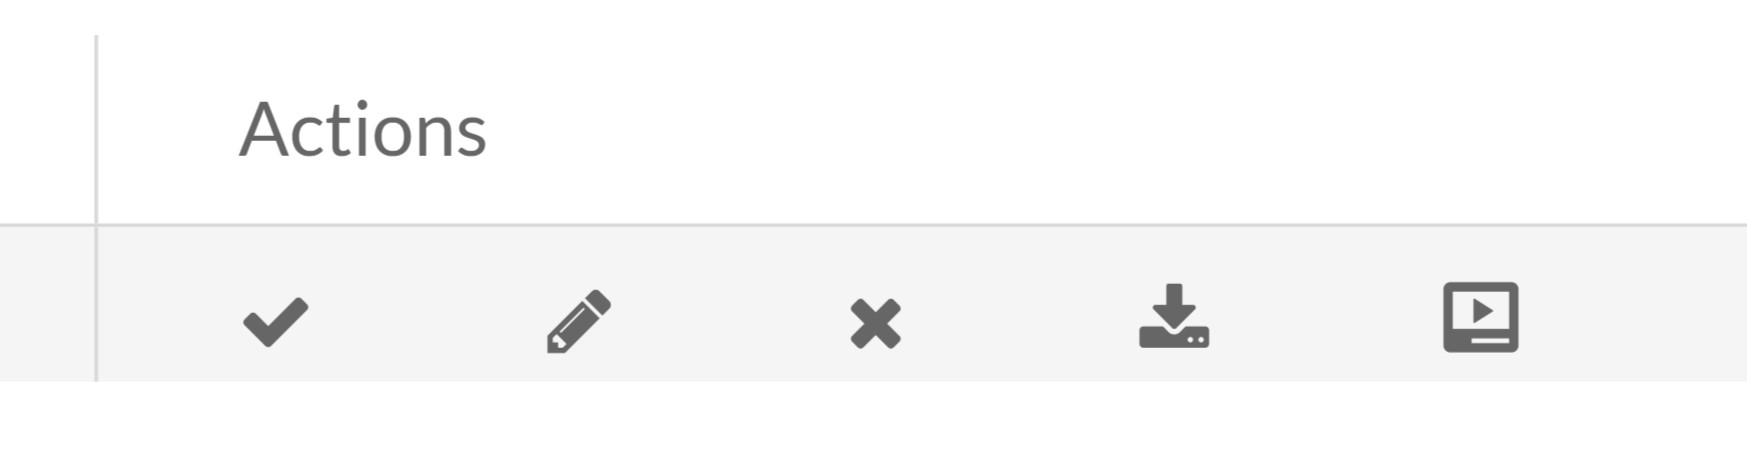
- Under the Actions header, select the Download icon next to the caption file you wish to download.
- The transcript will be formatted as SRT (SubRip) file.
Editing Captions
- Log into MyMedia (through the MyMedia website or Blackboard),
- From the MyMedia website: select your name at the top right and click My Media.
- Select the media for which you would like to download a transcript.
- Scroll down to below the media and click the Actions dropdown and select Edit.
- Select the Captions just below the media.
- Click the Edit Captions button and this will launch the Closed Captions Editor.
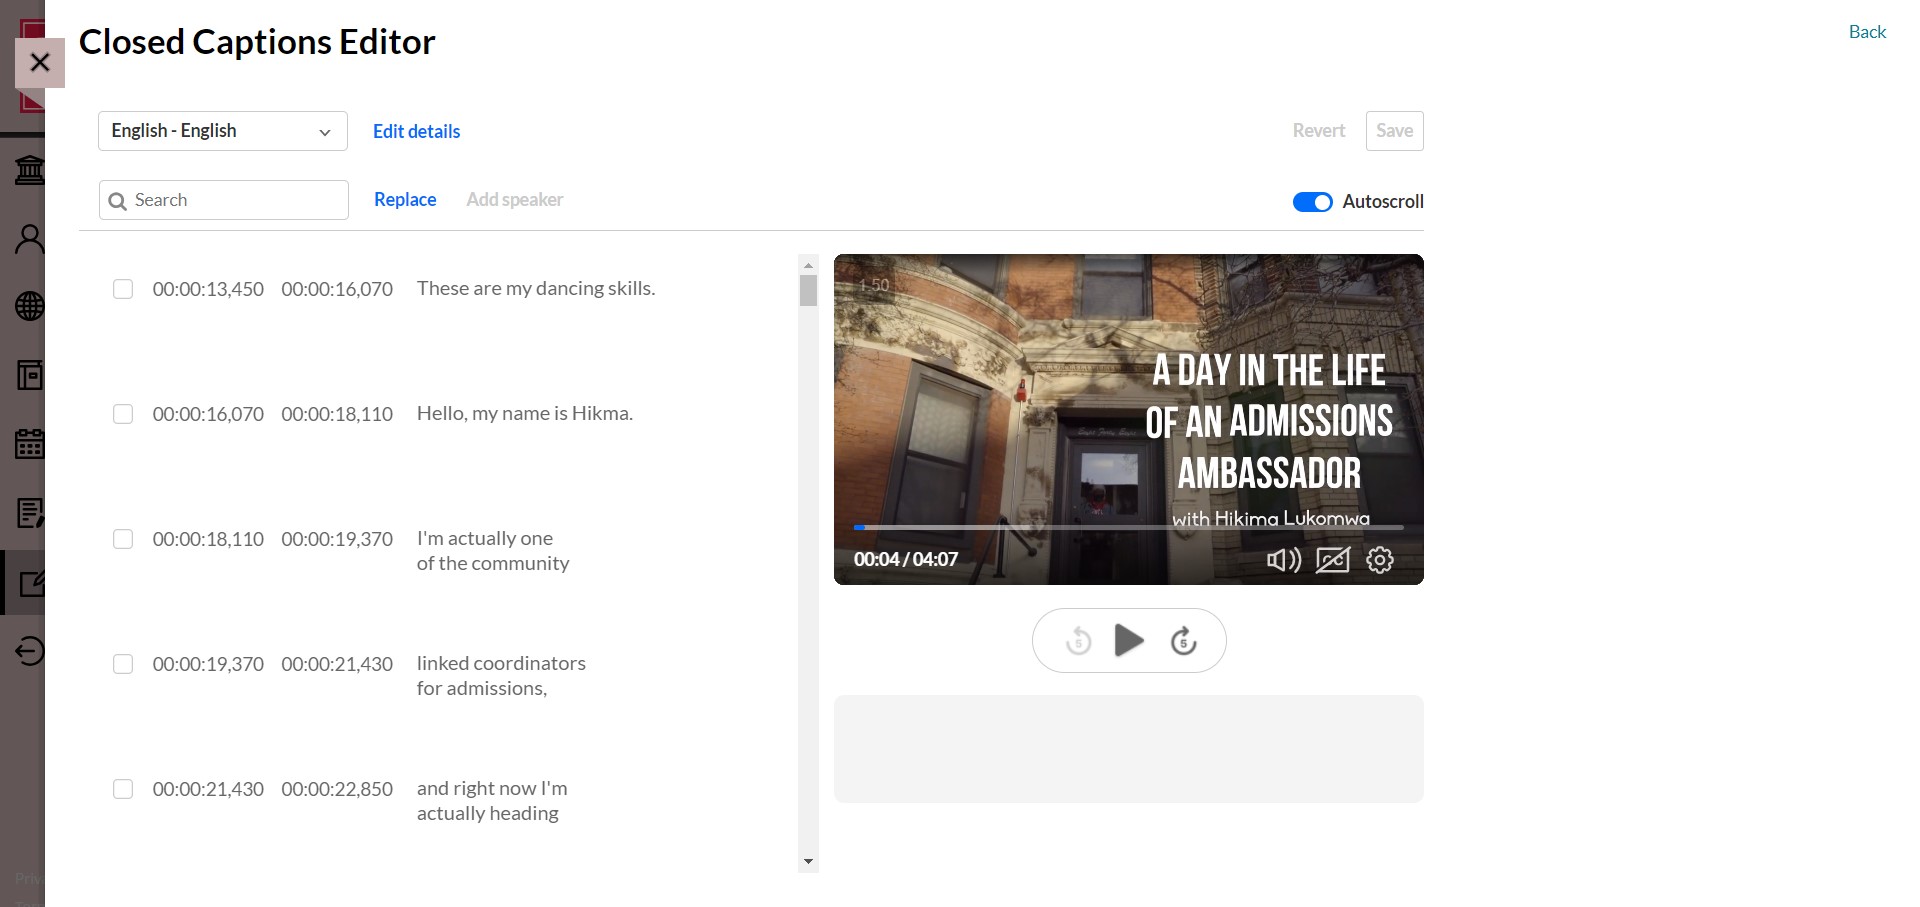
- Within the Closed Captions Editor you can:
- Search the caption contents using the search bar.
- Replace certain words or phrases with corrected spellings using the Replace feature.
- Edit any of the generated text per caption line.
- Edit the start or end times of any caption line.
- Select any lines (using the left checkboxes) to add a speaker designation for those lines (such as denoting who is speaking in a those lines in a conversation).
- Remove select caption lines.
- Add new caption lines (by hovering over the captions and clicking the + button that appears).
- The start and end time must be specified along with the text that will appear on the screen.
- Clicking Save in the top right corner of the page will save the edits made to that video’s captions.
Requesting Human Captions through a Departmental Account


