After requesting a course site, these are the first essential steps to design your course in Blackboard Learn.
It is recommended you complete these tasks (if applicable) prior to the start of your course. Most faculty choose to do these at least two weeks before the start of the semester.
Copying a course site with child courses grouped
You will need to retrieve the information for the child course sections that are to be grouped with your parent course site. This provides the Service Desk with the clearest and most concise information in order to efficiently and accurately process these requests.
-
- Acquire all the parent > child information from the University Class Schedule within the Faculty Link.
Example: For a 2015 Fall CAS WR 100 section A1 course that will be grouped with sections A2, A3, A4, etc., the section A1 course is the parent and all other sections are the child courses of that parent course site. - Take this parent > child information and use it within the Blackboard Learn support form. Click the Copy a site tab and then, within that tab, select the Copy using One Help box.

- Any courses in Blackboard Learn that you are listed as an instructor will show up in Step #1, Copy From, in the list of radio buttons. Select the radio button for the course that you would like to have copied as the source material for your new course site.Note:You can click the Search for another course site button if you don’t see your course listed in Step #1.
- In Step #2, Copy To, input the parent course (future semester destination course) information.
- Still in Step #2, click the Group with Another Section link to bring up a new set of text boxes for the child
section(s) to be grouped with this parent course site and fill in the required information for the child section(s).

- If not populated automatically, add the new course title in theNew Course Title text box.
- Click the Submit button.
- Acquire all the parent > child information from the University Class Schedule within the Faculty Link.
Original View
Make Your Course Available
Please Note: New Blackboard Learn course sites and course copies are set to unavailable by default to prevent students from accessing course materials before the class starts.
Option #1
From your course Home Page or any Content area, look for the padlock icon in the upper right, next to Edit Mode. Click the icon to make your course available.
When the padlock icon is red, it indicates your course is unavailable to students

A grey icon (with the lock open) means that your course is accessible to enrolled students.

Option #2
-
-
- Log into Blackboard and under My Courses, click the link for the course you wish to enter.
- Go to the course’s Control Panel on the left.
- Click on Customization, then Properties .

- For item number 3, Set Availability, set the radio button to Yes.

- Click the green Submit button (located at the top and bottom of the page).
-
There is also a video in our online documentation showing these steps under Check Your Course at https://www.bu.edu/tech/teaching/lms/blackboard/instructors/videos/getting-started/.
Select the Course Entry Point
-
-
- In the Course Menu, click on the down-pointing chevron to the right of the Home Page link and select Show Link.
- In the Control Panel area, click Customization and then select Teaching Style.
- Scroll down to Select Course Entry Point.
- Change the Course Entry Point to Home Page.
- Click Submit.
-
Turn Off Unnecessary Tools
-
-
- In the upper-righthand corner of your course, make sure the Edit Mode toggle is set to ON.
- Select Tools from the Course Menu.
- Click Hide Link next to the tools that you will not use in this course.
- To view the Tools that will be available to students, switch Edit Mode to OFF.
-
Design Your Course
Modify Your Course Menu
-
-
- With Edit Mode set to ON, click the + button at the top of the Course Menu.
- Select the item you would like to add. (The choices are detailed below.)
- Type in a Name and add any other necessary information.
- Check Available to Users.
- Click Submit.
-
Available Course Menu Options:
-
-
- Content Area – This area can contain many different types of content including Tests, Assignments, Folders, links to multimedia content, etc.
- Module Page – Customizable pages that can contain any number of interactive elements such as a dictionary, calculator, or information including grades, tasks, and alerts.
- Blank Page – Pages that use the text editor for content that will appear on the page.
- Tool Link – Access to specific tools within the course.
- Web Link – Link to an external website.
- Course Link – Direct link to another area in the course.
- Subheader – Clarify relationships between Course Menu items. These are text only and, when inserted, a Divider appears above them.
- Divider – Organize your Course Menu into distinct sections.
-
Upload Banners
-
-
- Select Customization in the Control Panel area.
- Click on Teaching Style and scroll down to select Banner.
- Click Browse and select the image you would like to use.
- Click Submit.
-
Select a Course Structure
-
-
- Select Customization in the Control Panel area of your existing course.
- Click Teaching Style.
- In the Select Course Structure area, select the name of the Course Structure you would like to use.
- Preview the structure on the right side of the screen and click Use This Structure if you are sure you would like to make the changes
- Click Submit.
-
Select a Course Theme
-
-
- Select Customization in the Control Panel area of your existing course.
- Click Teaching Style.
- In the Select Course Theme area, select the theme you would like to use.
- Click Submit.
-
Ultra Course View
Add a Course Banner Image
You can upload an image to be the course banner inside your courses in Blackboard Ultra. The course banner also appears in the grid view of the Courses page of Blackboard Learn’s base navigation.
Course banners have many uses:
- Improve the way your Ultra Course View landing pages appear
- Provide a visual identity for your course for students who are visual learners
- Bring consistency between what the base navigation displays and the actual course
- Help your students to identify your course and locate course details
Access the Course Banner
There are three ways to access the course banner options panel.
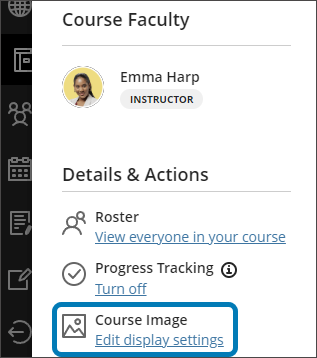
1. In your course’s main page, go to Course Image in the Details & Actions menu.
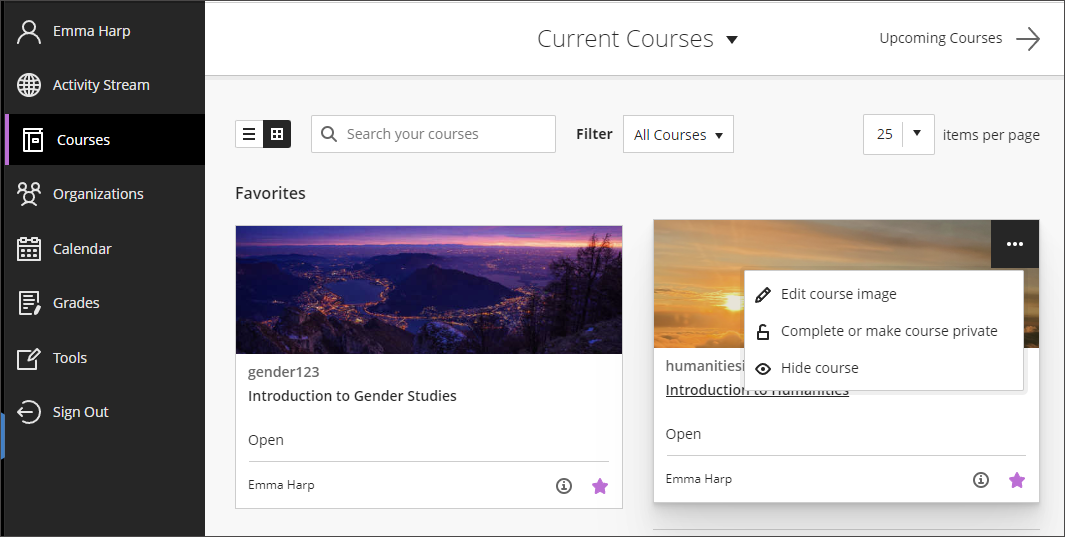
2. In the grid view of Learn’s base navigation, hover over the image and select the three dots that appear. You can now select Edit image from the menu.
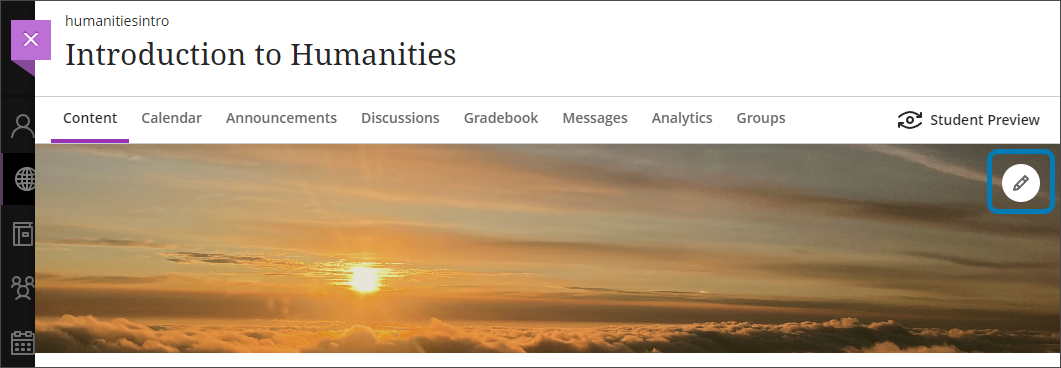
3. In the main page of your course, select the pencil icon on the banner.
Adding a Course Banner
- Choose an appealing and meaningful image for your course. The minimum size for the banner image is 1200 x 240 pixels.
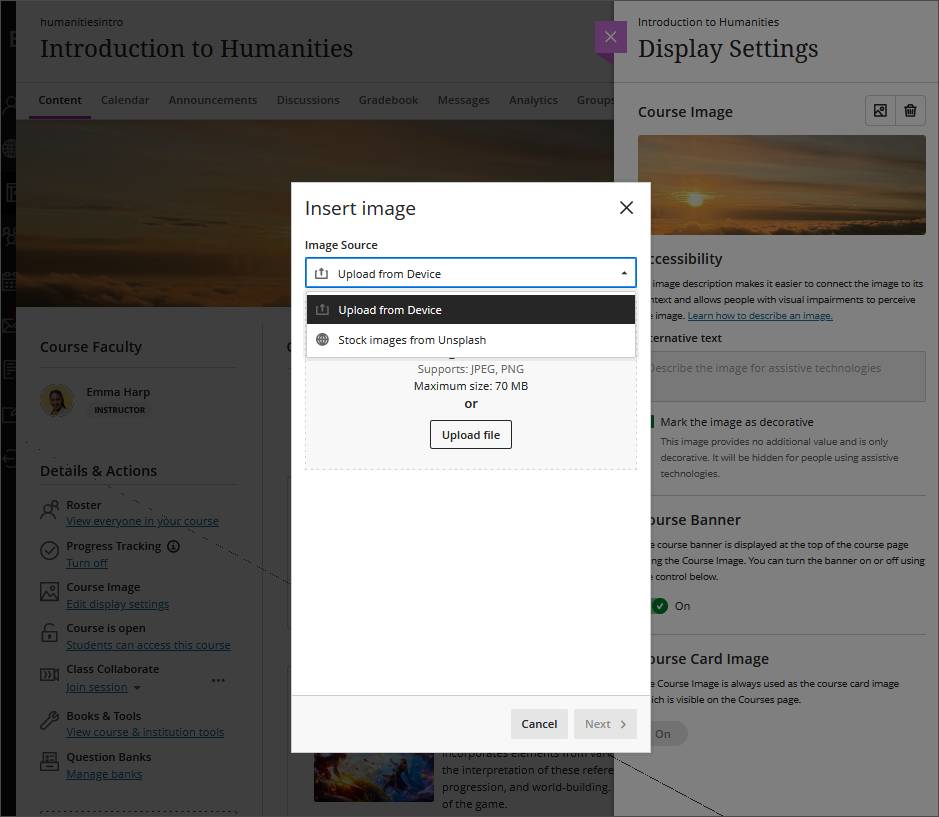
- Select the image icon at the top of the course banner options panel. You can now upload an image. JPEG and PNG formats are supported.
- You can also upload stock images from Unsplash by searching in the dropdown interface.
- You can also upload stock images from Unsplash by searching in the dropdown interface.
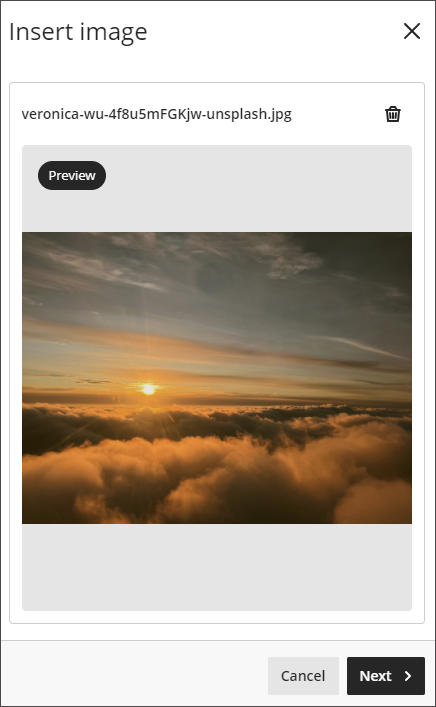
- A preview of the image appears. Select Next to continue. You can select the trash icon if you want to cancel the upload instead.
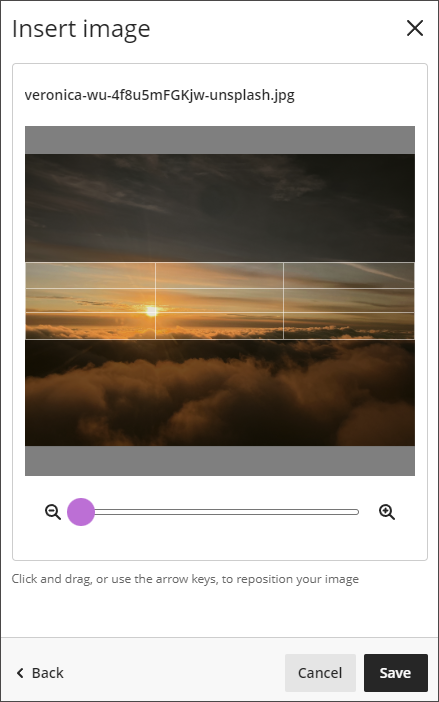
4. Position the image. You can adjust the zoom of the image using a slider and select and drag what parts of the image become the course banner. Select Save to continue.
5. The image is uploaded to your course. The image might take a few seconds to load, depending on your internet connection.
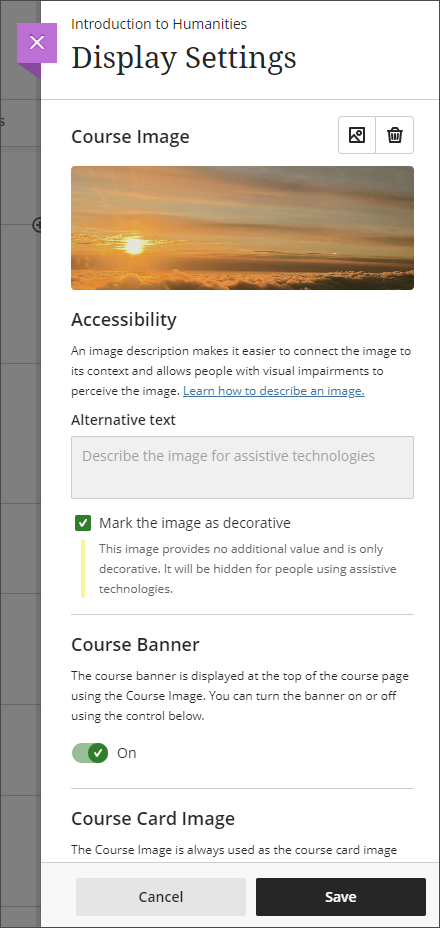
6. The course banner is automatically turned on for your course. If you want to turn off the course banner, select the Course Banner slider to turn it off.
7. Course banners are automatically marked as decorative, which hides the banner for students using assistive technologies. If you want all students to know the content of the image, deselect Mark the image as decorative. Enter a description of the image in the Alternative text field.
8. Select Save to turn the course banner on for your course.
Remove Course Banner Image
If you want to remove the course banner, select the slider beneath Course Banner in the panel for course banner options. The image will still be available to use for your course.
You can also select the trash icon to remove the image. When you remove the image, your course banner settings return to the default.
Set up Progress Tracking
Allow students to mark and track their progress inside your courses.
Turn progress tracking on for your course:
-
-
- Select Courses from the Ultra navigation menu.
- Select a Course with no prior activity.
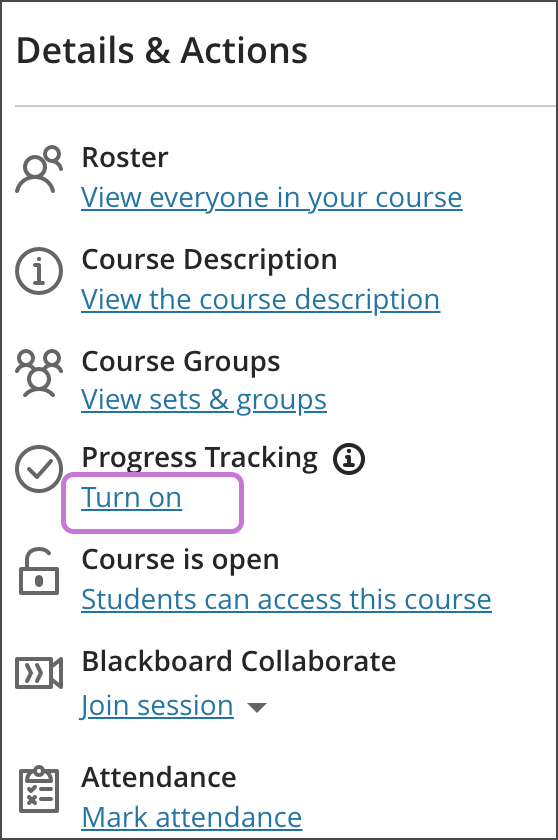
- On Details & Actions > Progress Tracking, select Turn on.
- Once Progress Tracking panel opens, switch the toggle from off to on.
- Save your new settings.
-
To learn more about Progress Tracking, visit this page.
Make Course Available to Students
A course must be made available before students enrolled in the course can view or access the course and its content. However, you may want to make a course unavailable during the building process or after a scheduled course has finished.
If your course is unavailable, access is determined by course role. Blackboard administrators, instructors, course builders, teaching assistants, and graders can see and access unavailable courses from the My Courses tab and the course list, but they’re marked as unavailable. Students can’t access unavailable courses regardless of the course duration. Unavailable courses don’t appear in the course catalog.
Set course availability
- In the list where your name appears, select the Courses link to access your course list. Open a course card’s menu to change your course availability. You can also change your course’s status on the Course Content page.
- You can make your course private while you add or experiment with content, and then open it to students when you’re ready. Students see private courses in their course lists, but they can’t access them.
- You can’t make a course private during an active term. If a user needs access to a private course, contact your administrator about a course’s settings.
Mark a course as complete
- You can choose to set your course to Complete when the course has ended, but you can no longer make changes to it. Students can access the content, but they can’t participate in the course any longer.
- For example, they can’t reply to discussions or submit assignments.
- When a course is complete, you can change the course back to open or private. Return to your course and in the Details & Actions panel, select the Students can view content, but can’t participate link. Make a selection in the pop-up window.
- If a course has an end date, and the end date passes, then students can’t access the course any longer. So, if you complete a course and open it again after the end date, students can’t access it.
- If you return to the Courses page and don’t see all the options in a course’s menu after this change, refresh the Courses page.